Understanding Brains
Brains serve as dedicated containers for:- AI Conversations: Chat histories and interactions
- Knowledge Base: Uploaded documents and files
- Agents: Specialized AI assistants
- Prompts: Conversation templates and starters
- Team Collaboration: Shared resources and workflows
Brain Organization
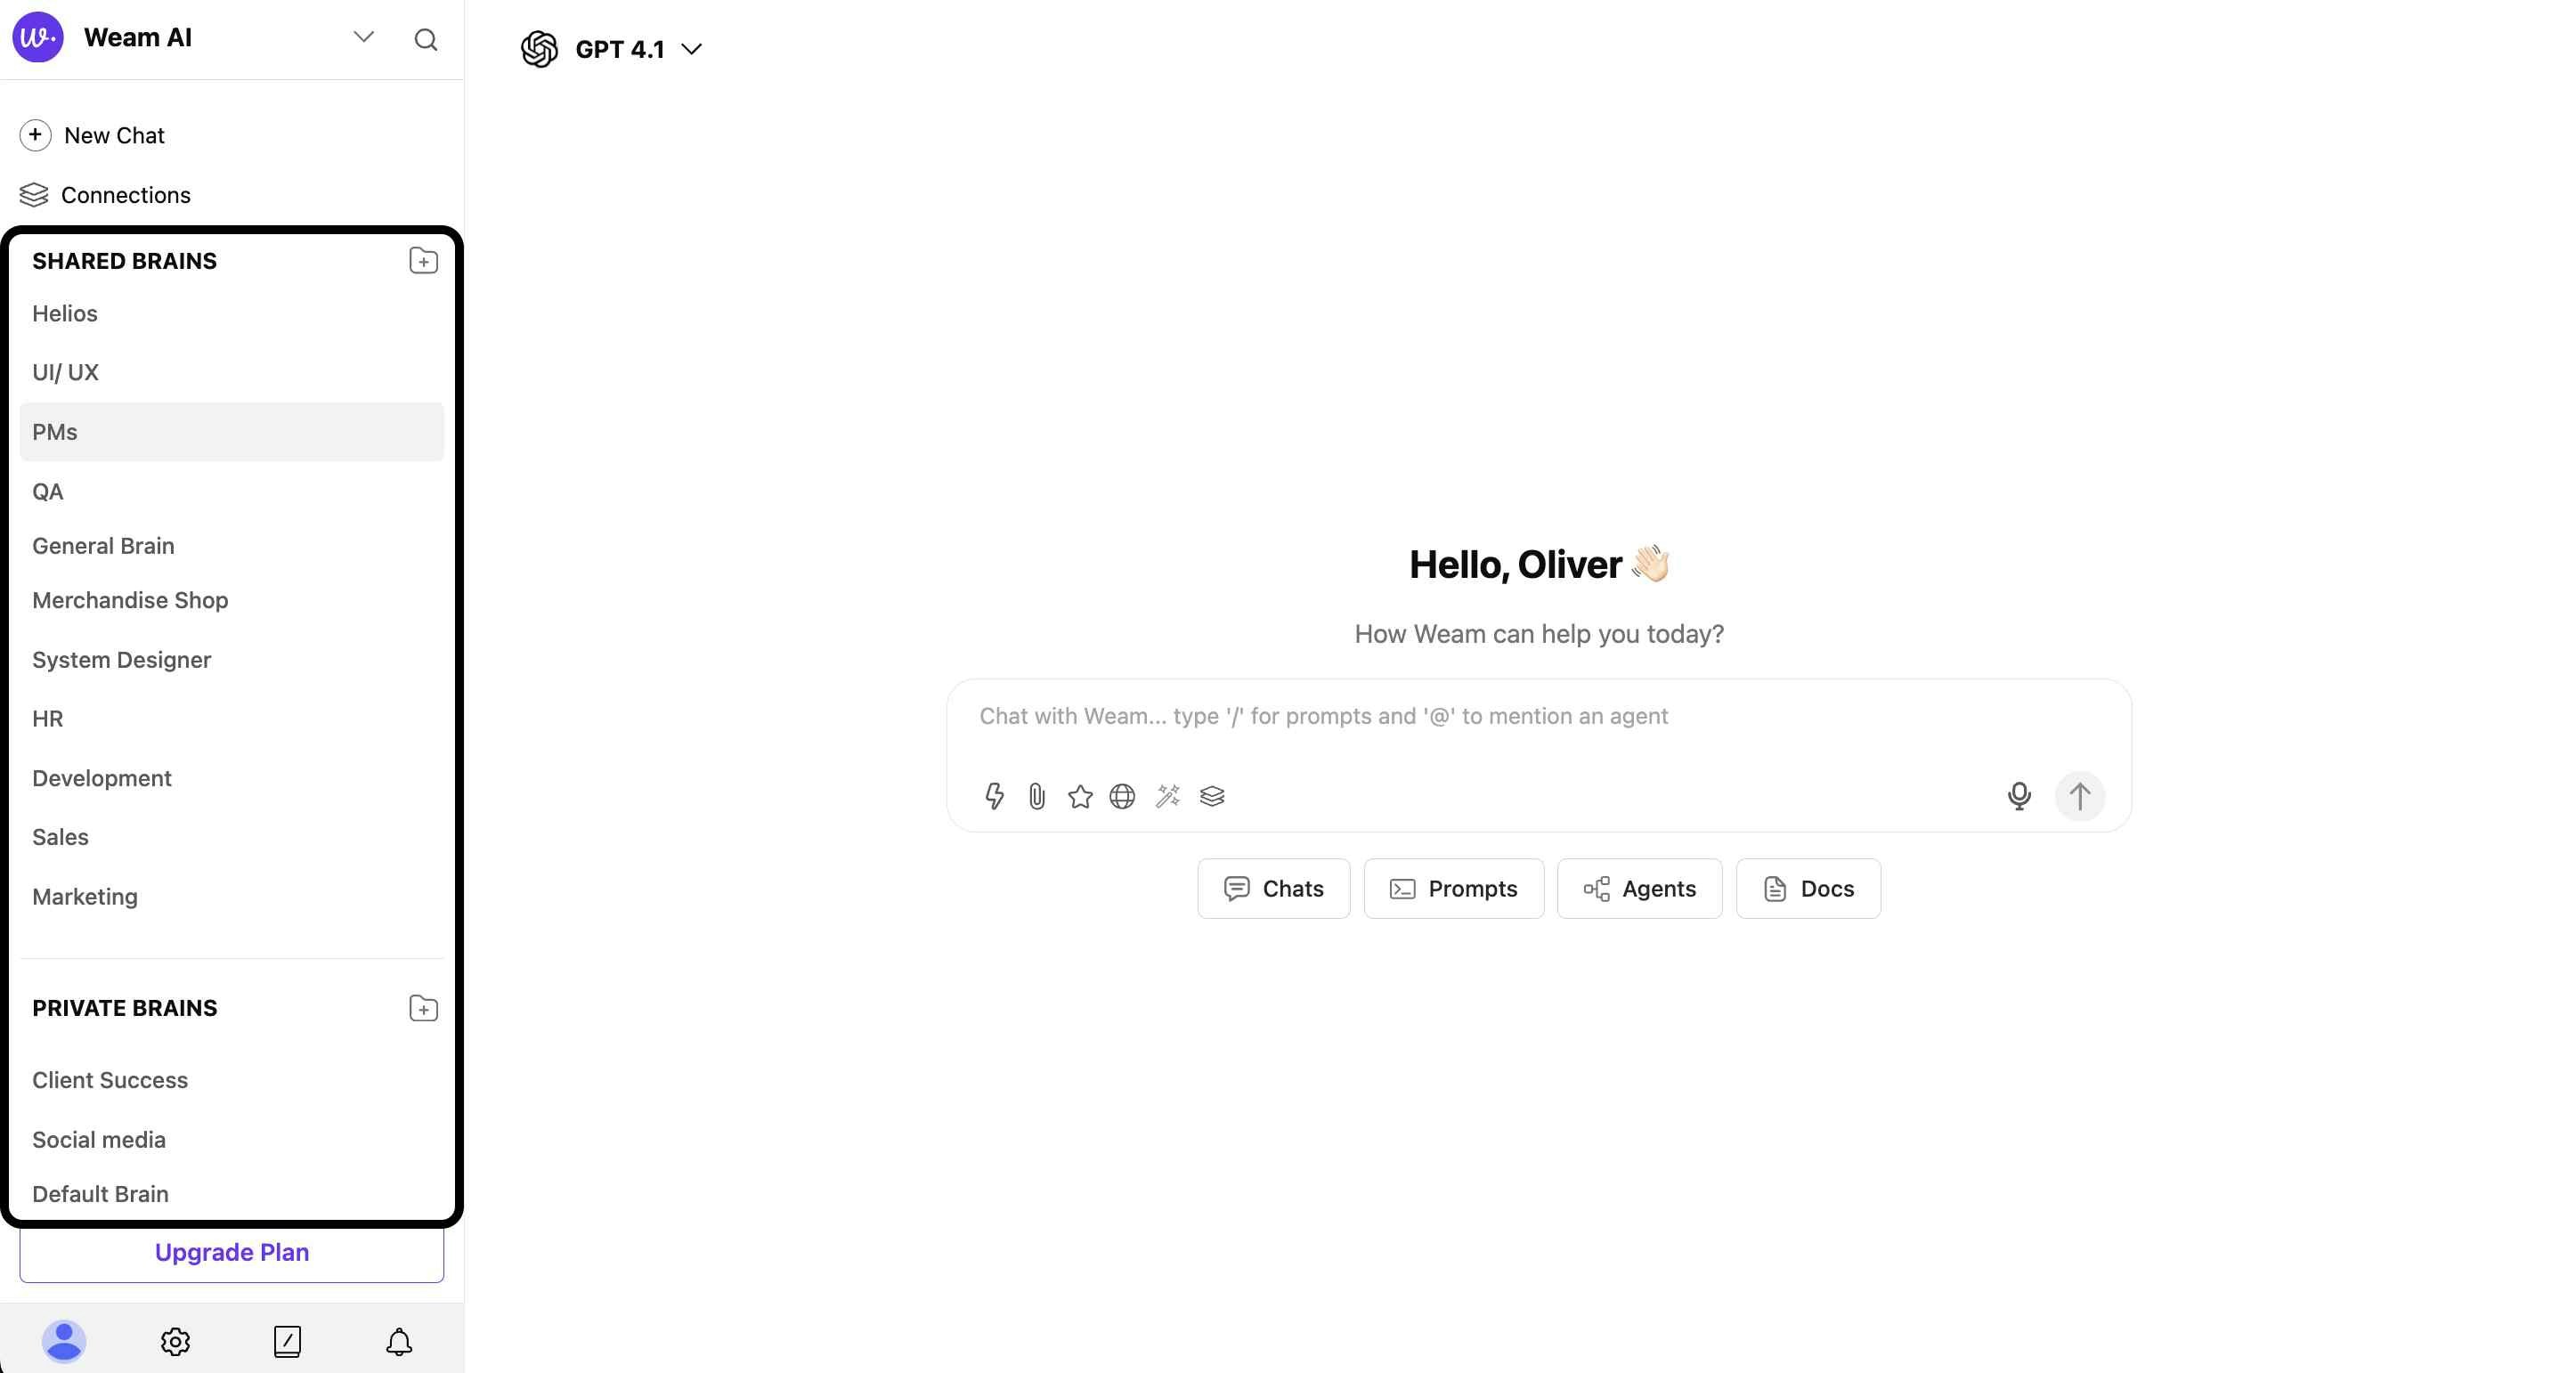
The sidebar displays Brains in two main categories:- SHARED BRAINS: Team collaboration spaces
-
PRIVATE BRAINS: Individual workspaces
Shared Brains
Purpose and Features
Shared Brains are collaborative knowledge centers designed for team collaboration, providing:- Team Access: Multiple members can work together on projects
- Resource Sharing: Shared agents, prompts, and documents
- Collective Knowledge: Combined team insights and interactions
-
Project Organization: Dedicated spaces for specific initiatives
Creating a Shared Brain
Step 1: Access Creation
- Navigate to the “SHARED BRAINS” section in the sidebar
- Click the ”+” icon next to “SHARED BRAINS”
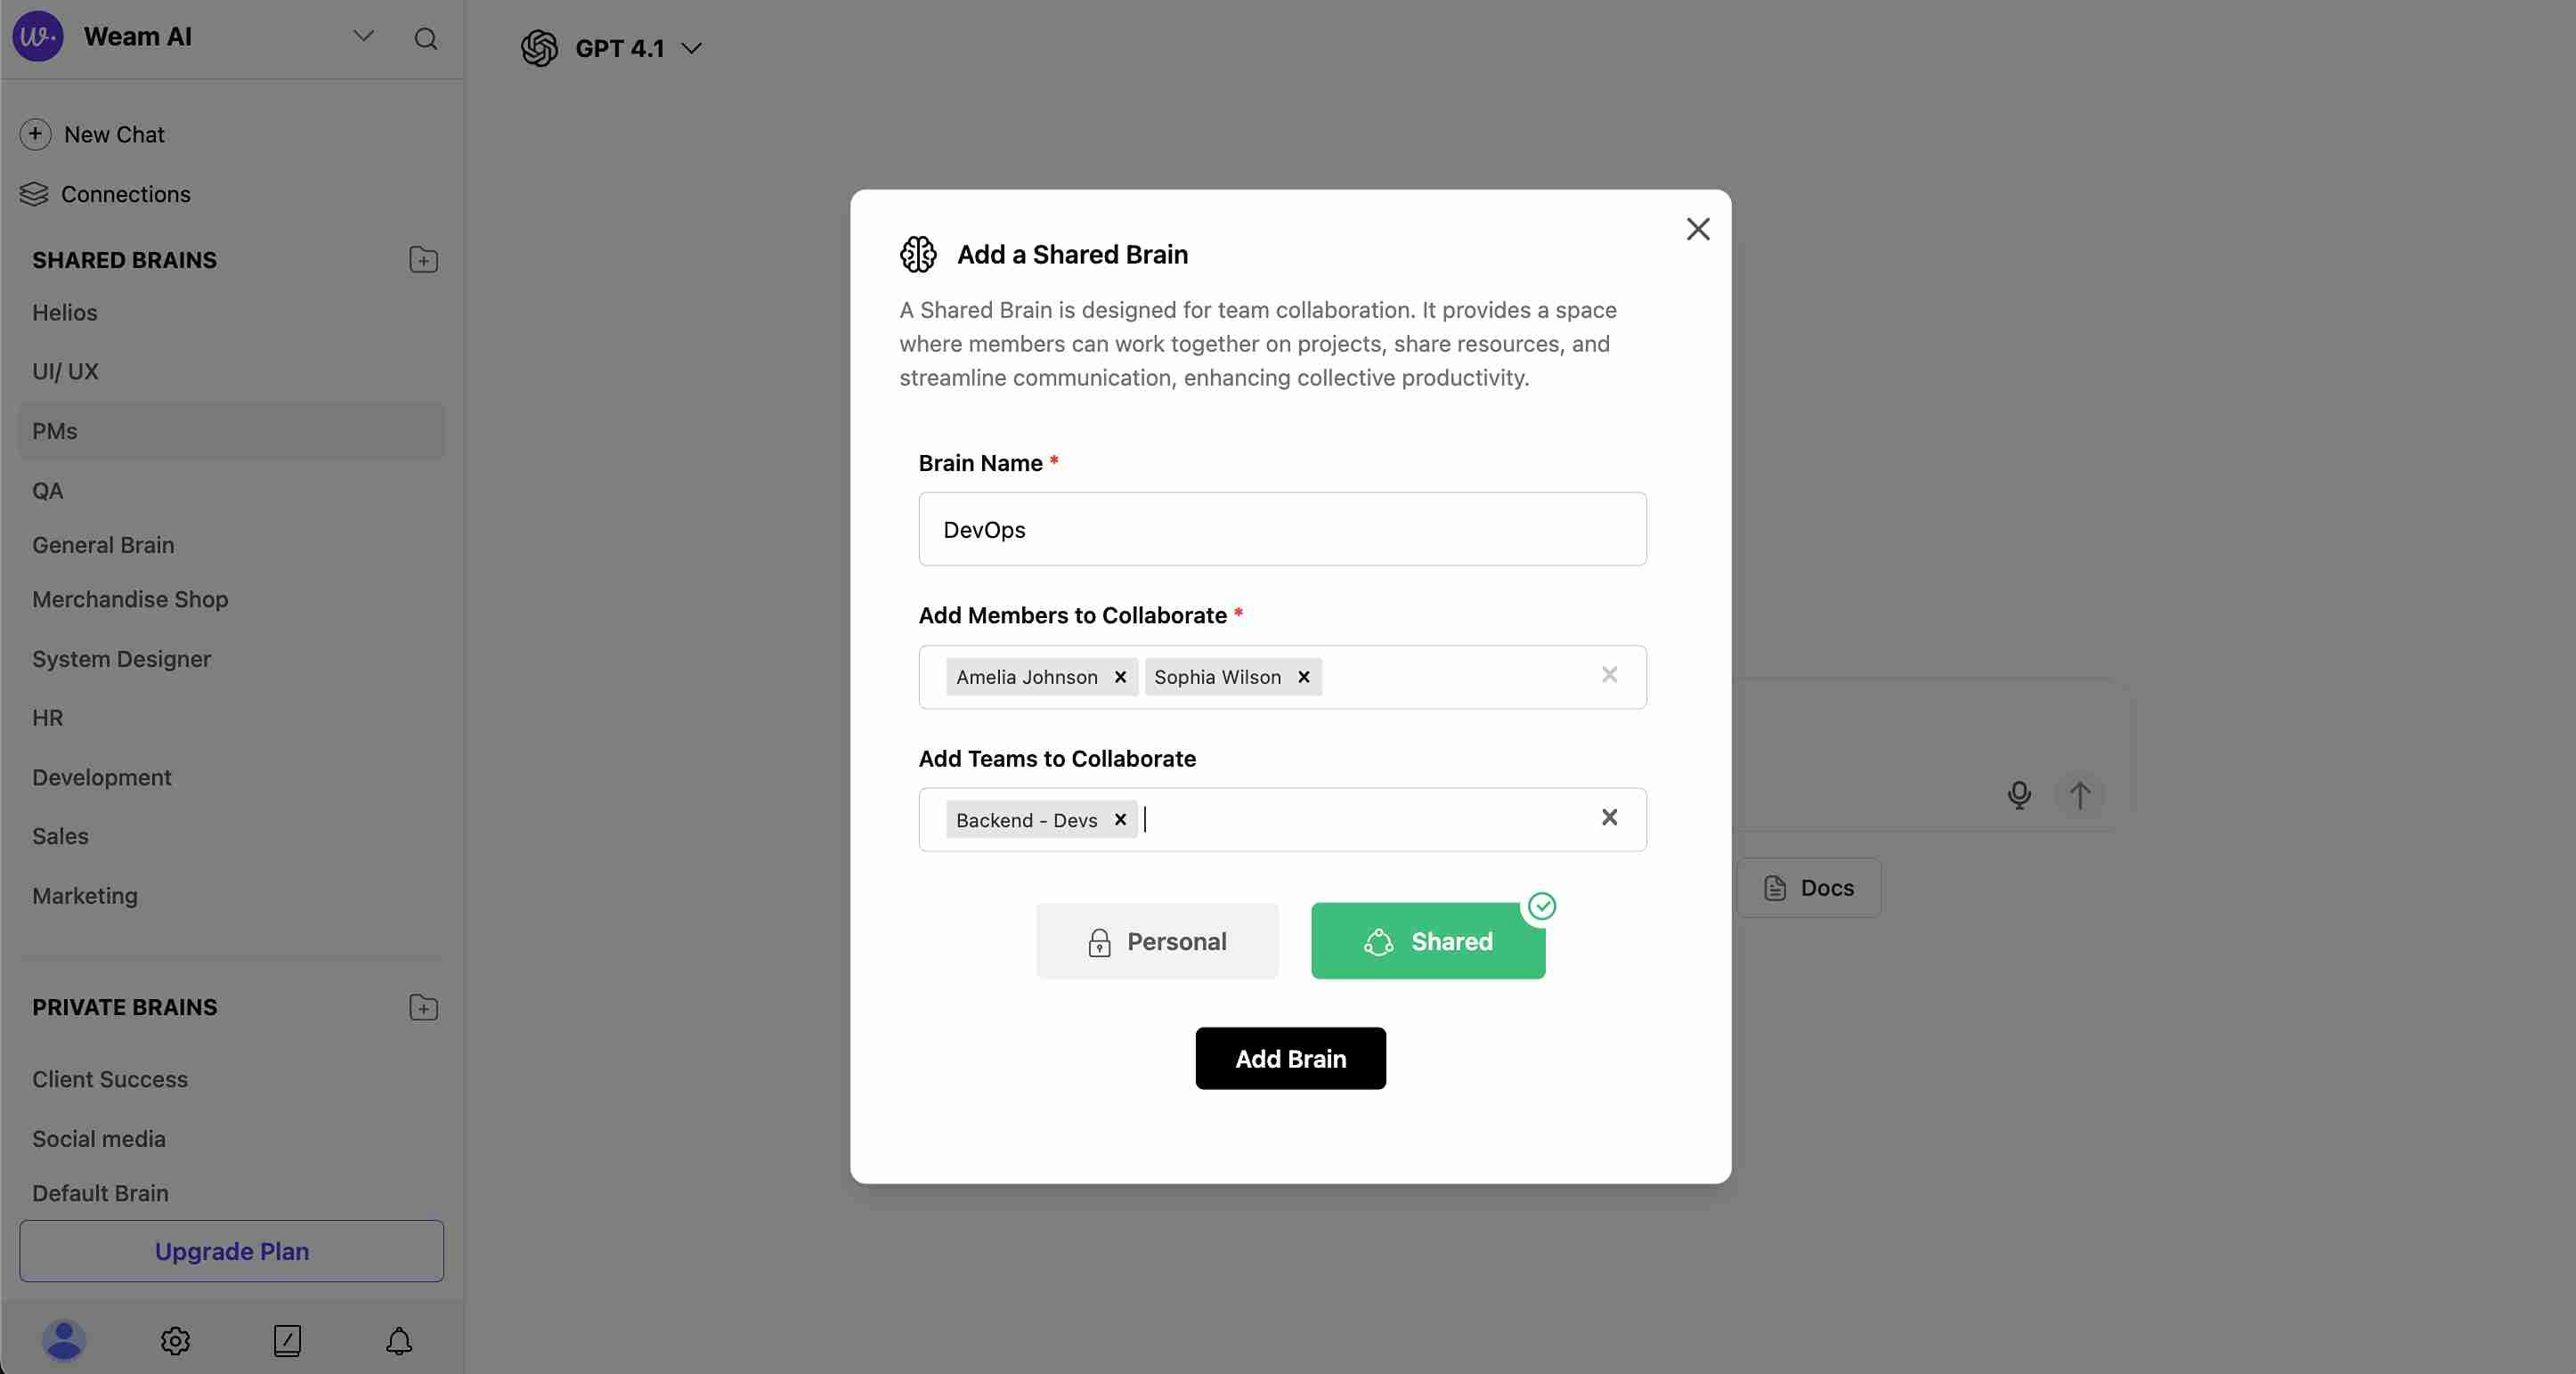
- The “Add a Shared Brain” modal will appear
Step 2: Configure Brain Settings
Brain Name (Required)- Enter a descriptive name for your Brain
- Choose names that clearly identify the purpose or team
- Search and select individual team members
- Multiple members can be added
- Remove members using the “x” next to their names
- Include entire teams (e.g., “Backend - Devs”)
- Select from existing organizational teams
- Teams can be removed using the “x” next to team names
Step 3: Set Brain Type
- Toggle between “Personal” and “Shared”
- Shared option creates team-accessible Brain
- Selected option determines access permissions
Step 4: Finalize Creation
- Review all selected members and teams
- Click “Add Brain” to create the Shared Brain
- The new Brain appears in your SHARED BRAINS list
Default Shared Brain
Every user automatically receives a Shared Brain named “General Brain” upon workspace setup.Private Brains
Purpose and Features
Private Brains provide individual workspace for:- Personal Projects: Individual work and experimentation
- Idea Development: Testing concepts before team sharing
- Learning Environment: Personal AI skill development
-
Preliminary Work: Refining ideas and prompts privately
Creating a Private Brain
Step 1: Access Creation
- Navigate to the “PRIVATE BRAINS” section in the sidebar
- Click the ”+” icon next to “PRIVATE BRAINS”
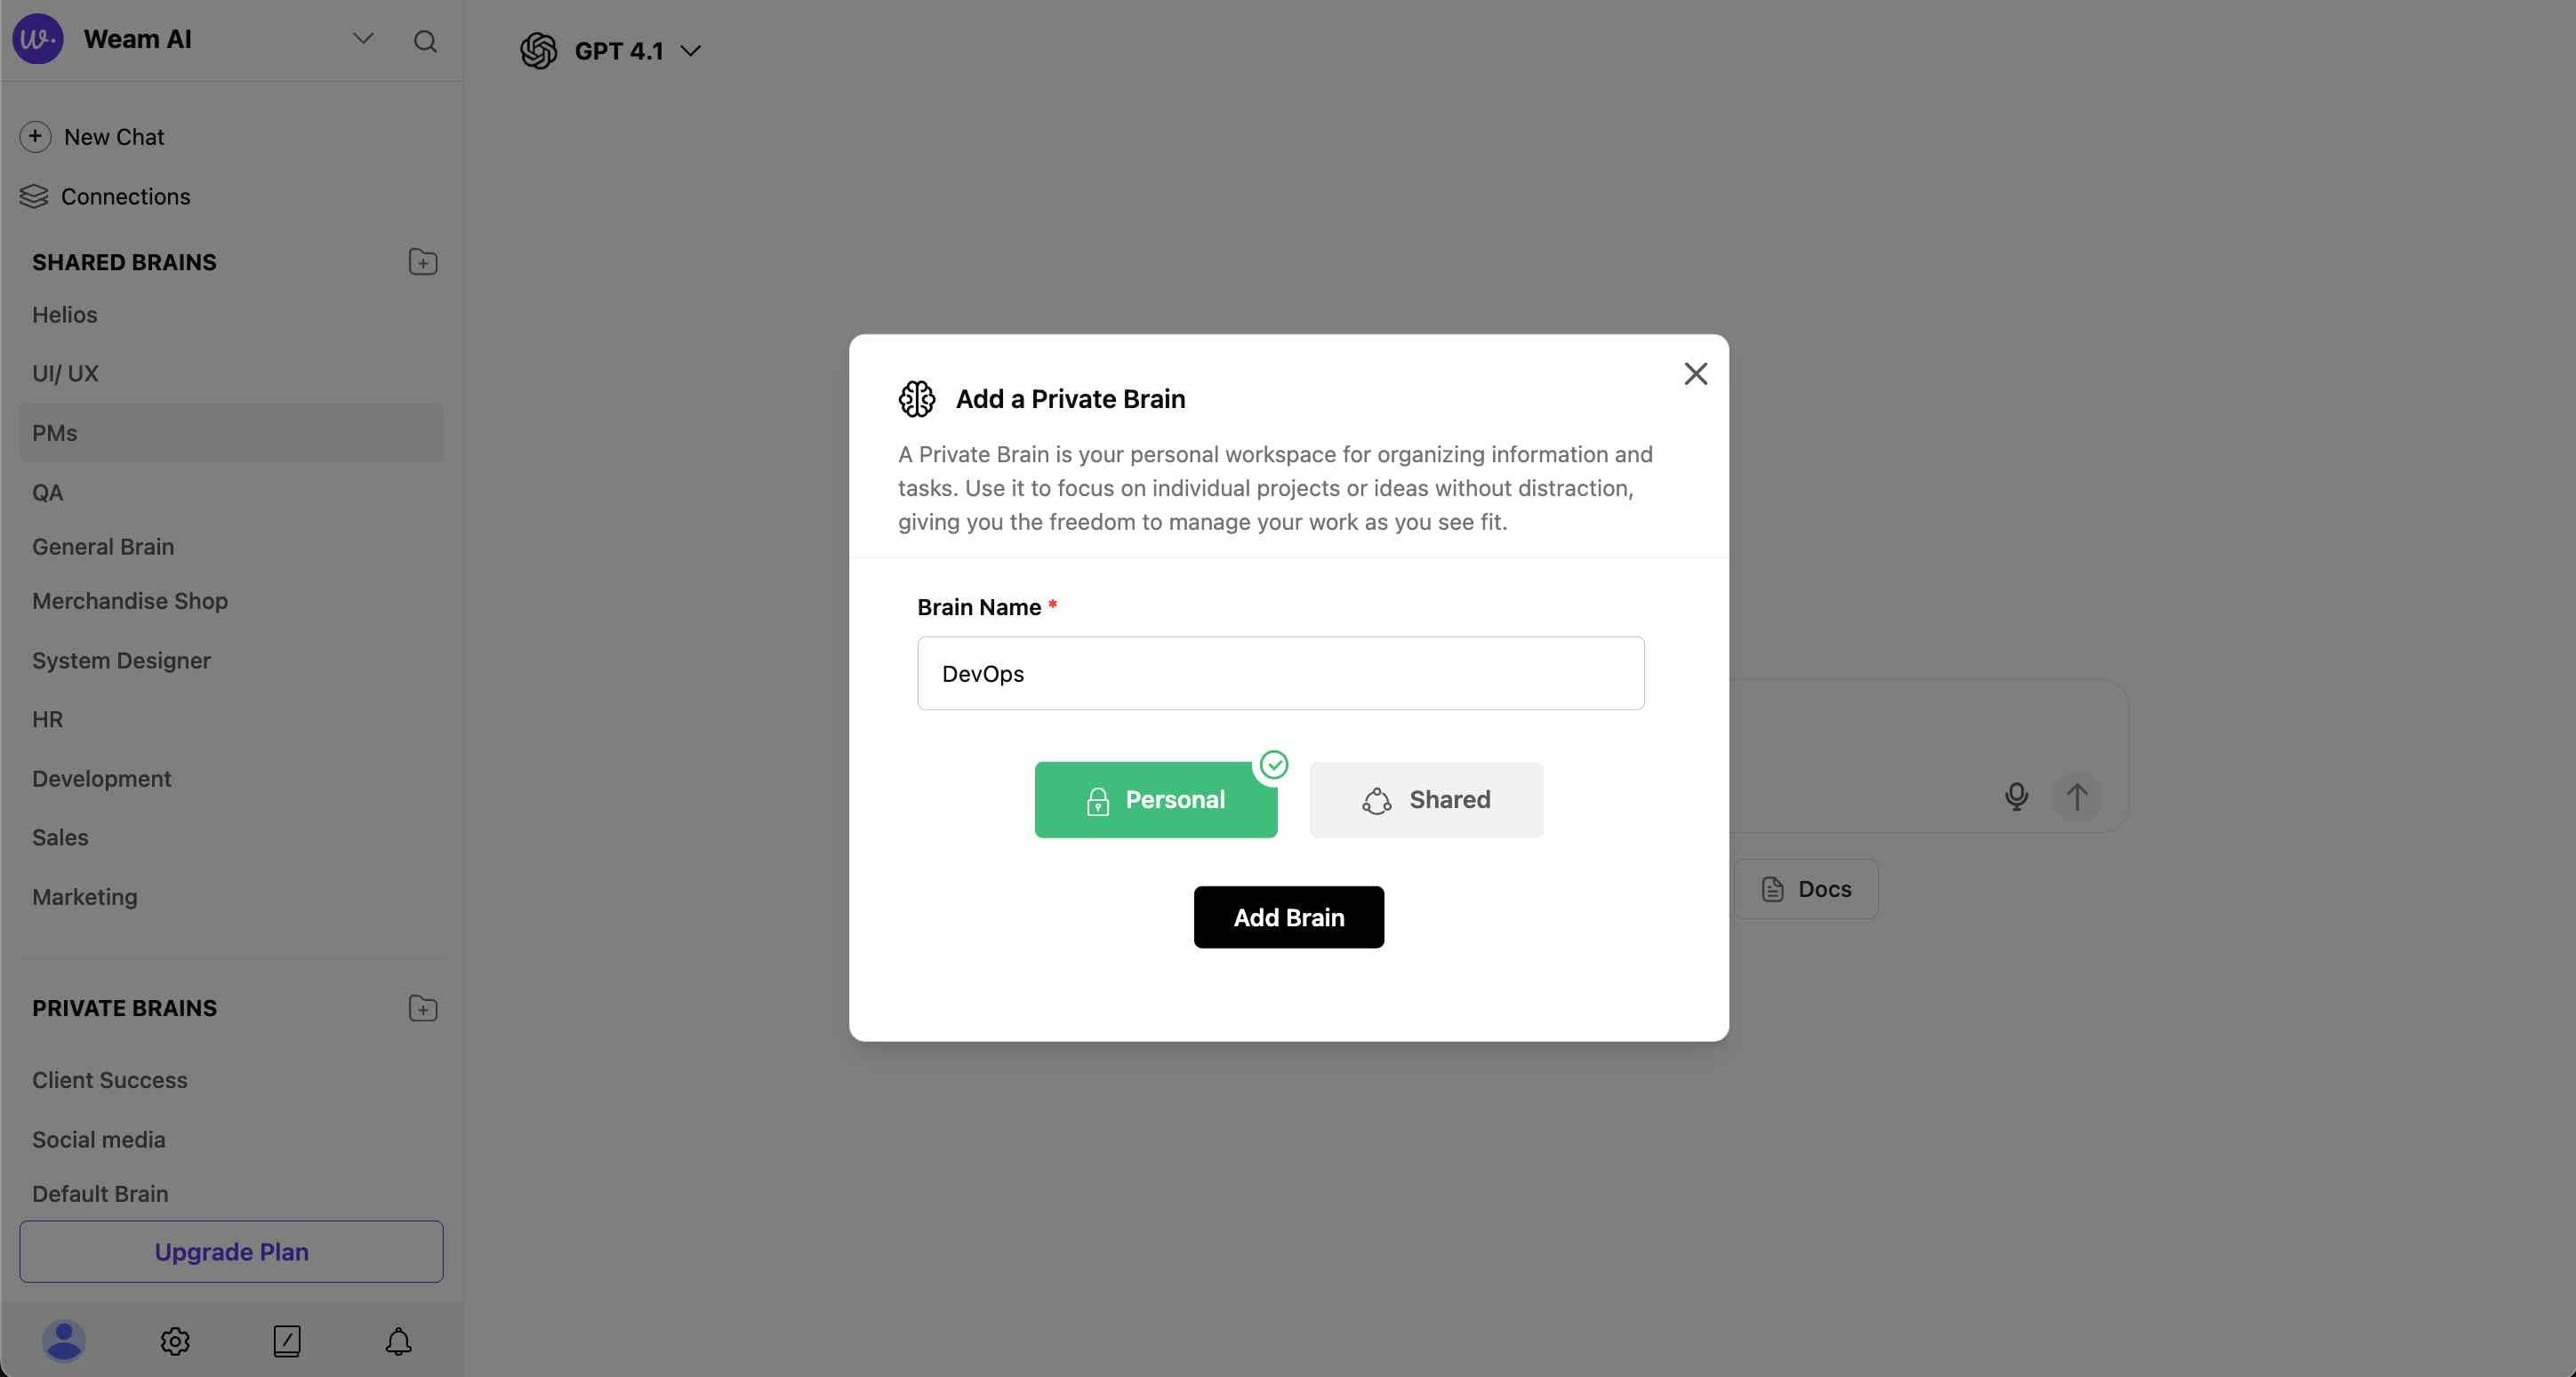
- The “Add a Private Brain” modal will appear
Step 2: Configure Private Brain
Brain Name (Required)- Enter a descriptive name for your private workspace
- Focus on personal project identification
- Toggle between “Personal” and “Shared”
- Personal option creates individual-only access
- Private Brains are restricted to the creator
Step 3: Complete Setup
- No member or team selection needed for Private Brains
- Click “Add Brain” to create your private workspace
- The new Brain appears in your PRIVATE BRAINS list
Default Private Brain
Every user automatically receives a Private Brain named “Default Brain” upon account creation.Brain Management
Brain Actions and Controls
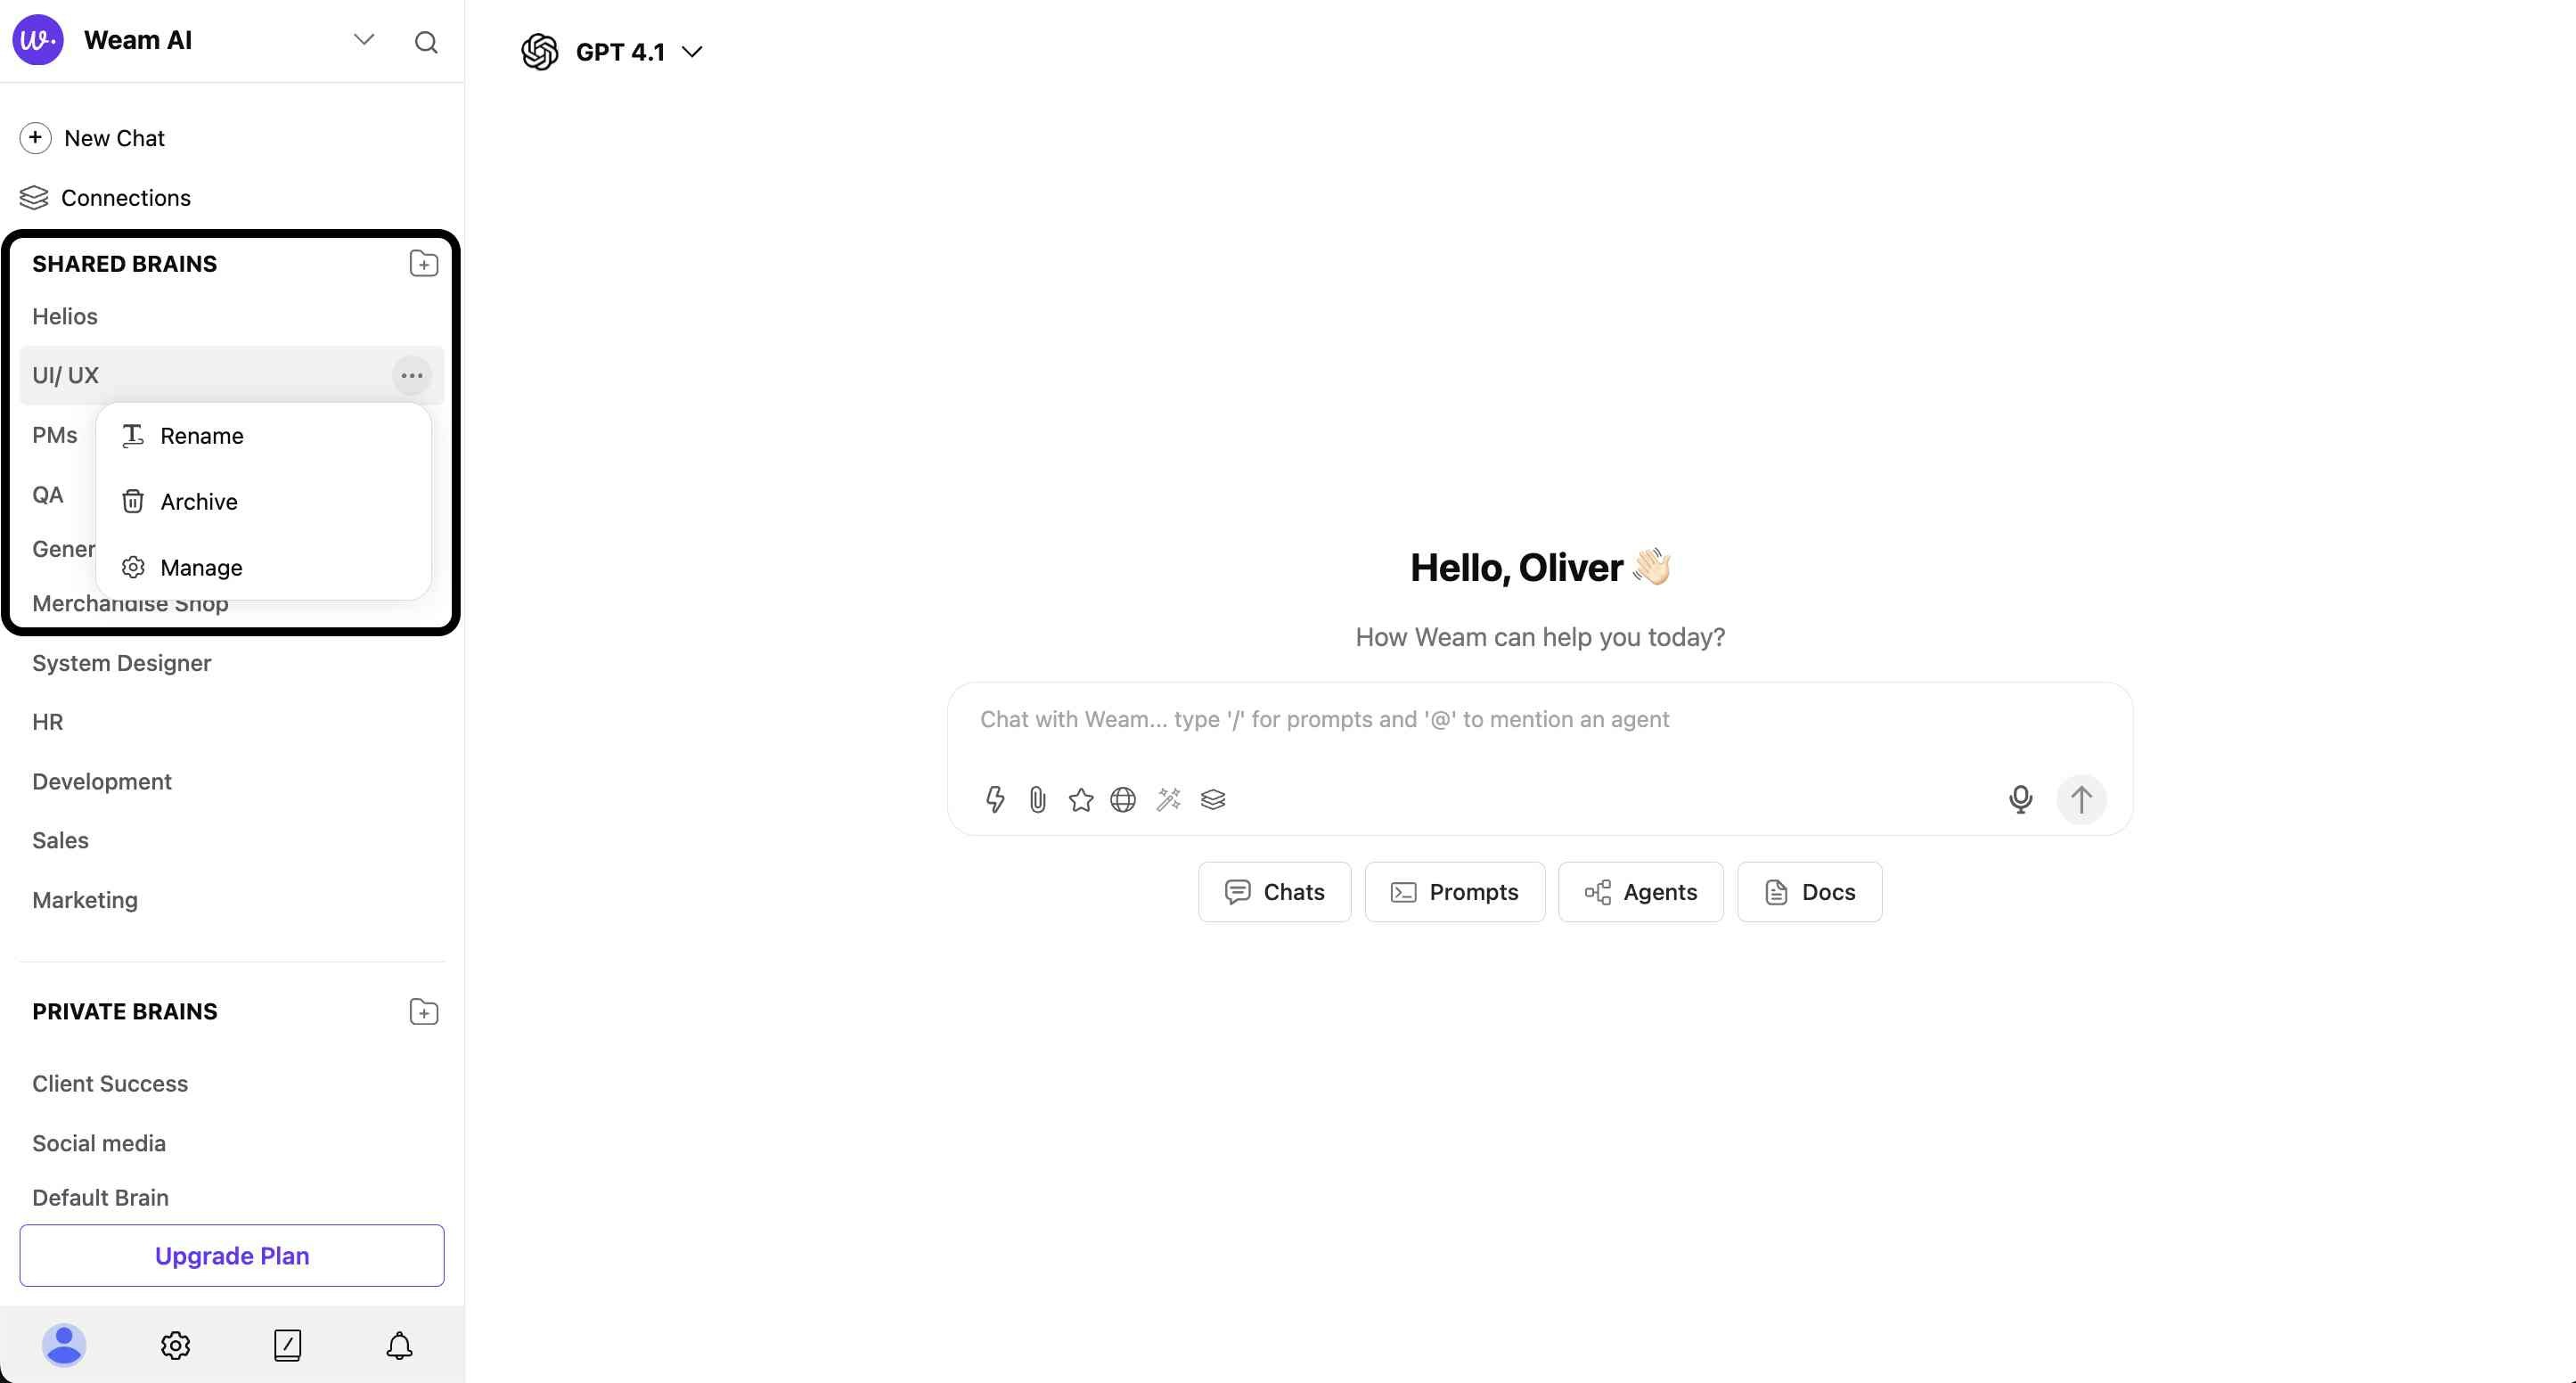
Each Brain has management options accessible through the three-dot menu (⋯) next to the Brain name:Available Actions
- Rename: Change the Brain’s name to better reflect its purpose
- Archive: Move the Brain to archived status (removes from active sidebar)
-
Manage: Access detailed Brain settings and member management
Brain Details and Member Management
Accessing Brain Management
- Click the three-dot menu (⋯) next to any Brain name
- Select “Manage” to open the Brain details modal
- View comprehensive Brain information and controls
Brain Information Display
The Brain management modal shows:- Brain Name: Current name with creation details
- Created By: Original creator and creation date (e.g., “Oliver Smith on 03-12-2025”)
- Member Count: Total number of Brain participants (e.g., “Members 3”)
-
Archive Option: Red “Archive” button for Brain archiving
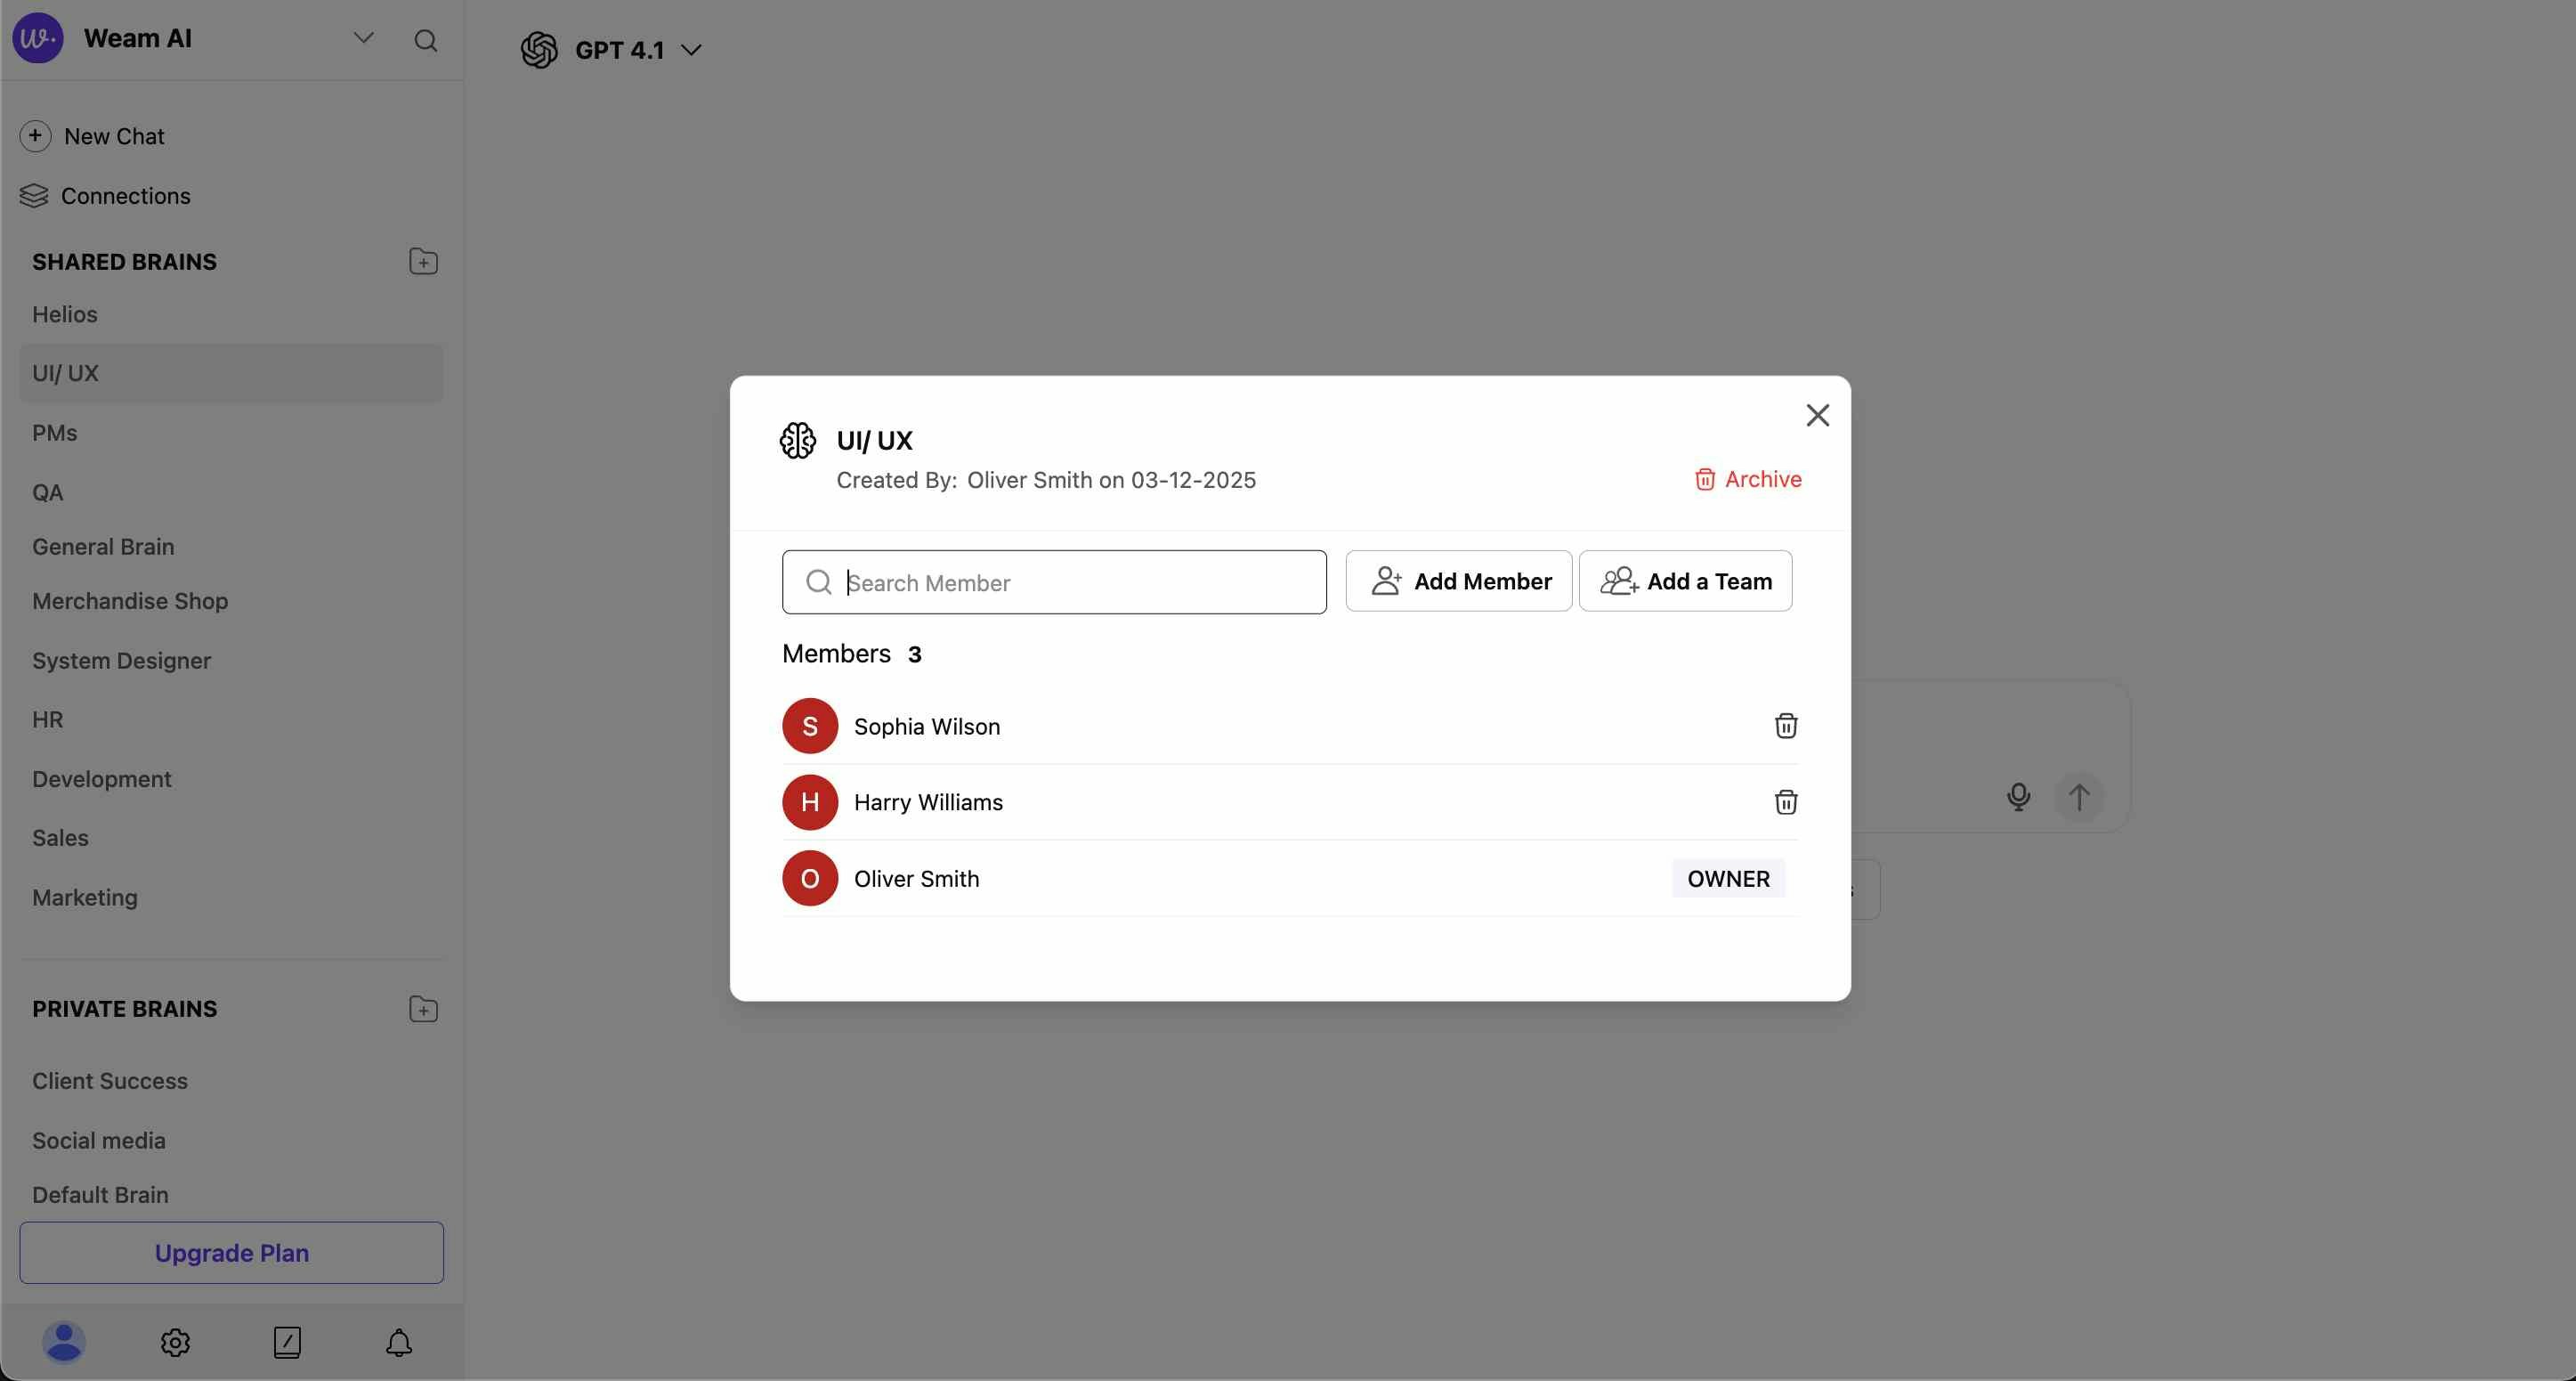
Member Management Features
Add New Members- Search Members: Use search bar to find specific users
- Add Member: Button to include individual users
- Add a Team: Button to include entire teams
Brain Lifecycle Management
Archiving Brains
- Access Brain management through the three-dot menu
- Click “Manage” to open Brain details
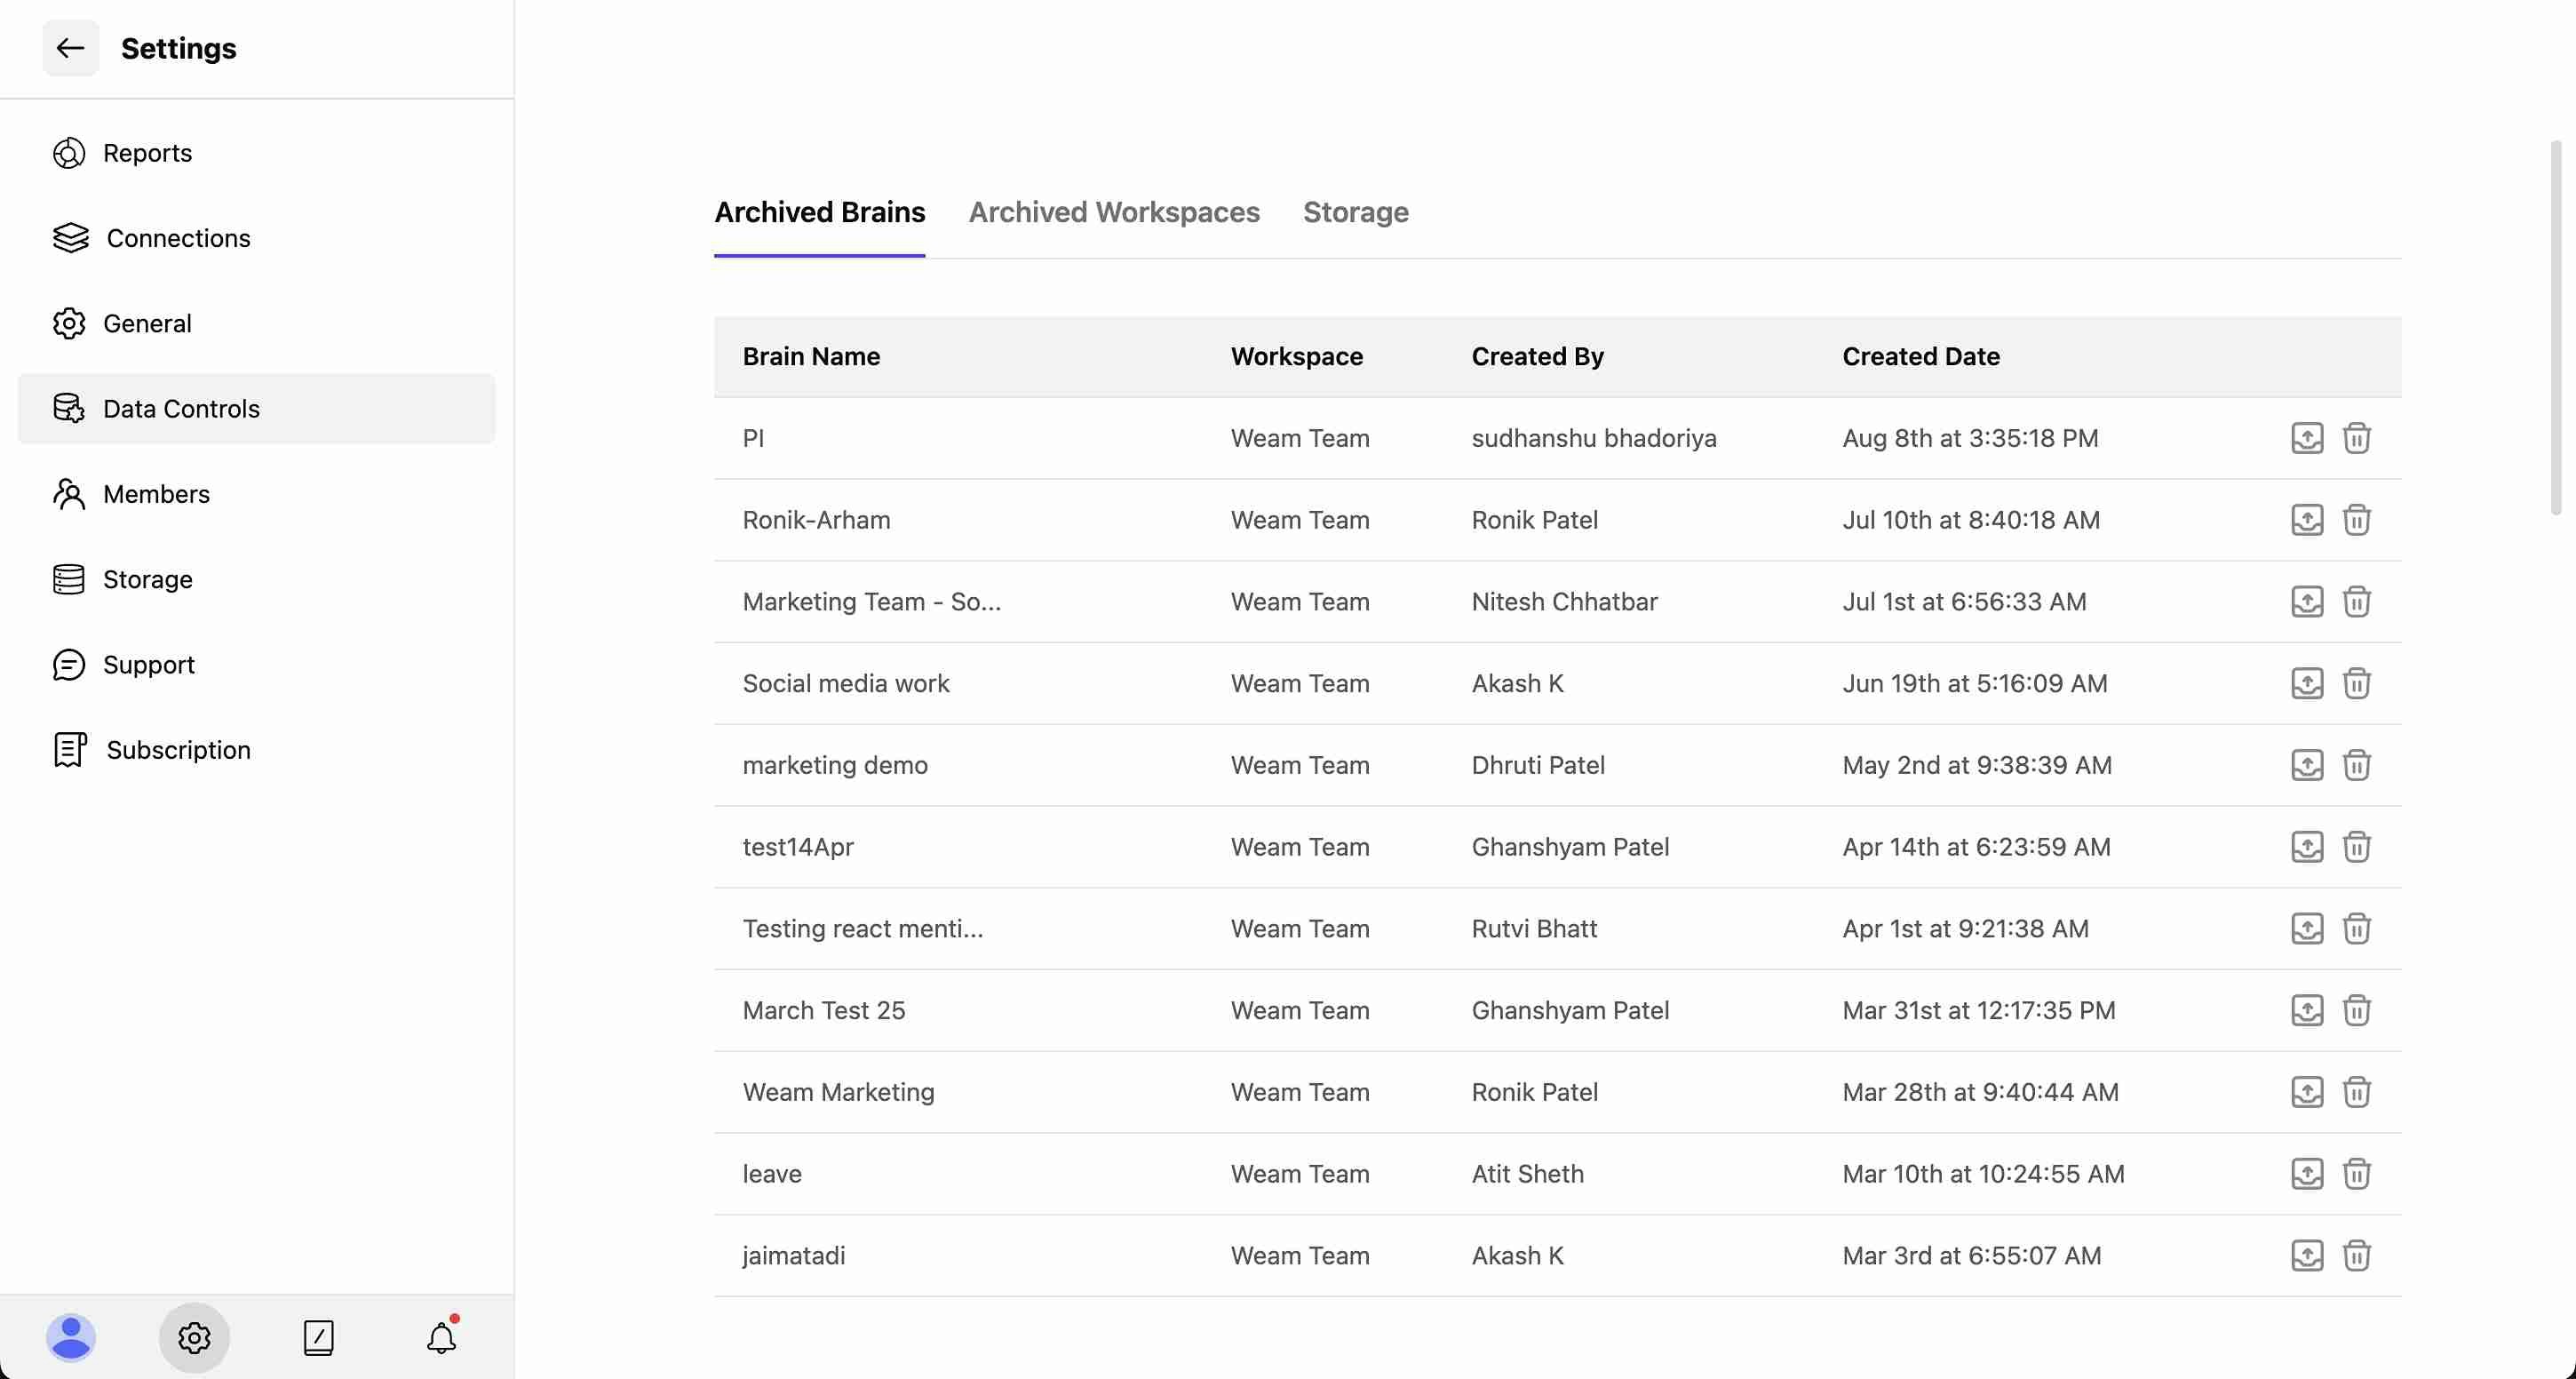
- Use the red “Archive” button to archive the Brain
- Archived Brains move to the Data Control section in Settings
Renaming Brains
- Click the three-dot menu next to the Brain name
- Select “Rename” from the dropdown
- Enter the new Brain name
- Confirm changes to update the Brain name
Administrative Controls
Access Management
- Member Control: Add or remove team members from Shared Brains
- Team Integration: Include entire teams in Brain access
- Permission Settings: Manage who can view and contribute
- Privacy Options: Control between Personal and Shared access levels