Understanding Workspaces
What are Workspaces?
Workspaces serve as distinct collaboration spaces that allow:- Team Organization: Separate environments for different teams or projects
- Resource Management: Dedicated Brains, agents, and prompts for each workspace
- Access Control: Controlled membership and permissions
- Focused Collaboration: Team-specific discussions and workflows
Default Workspace
Your company workspace is automatically created upon first login, typically named after your organization (e.g., “Weam AI”).Accessing and Switching Workspaces
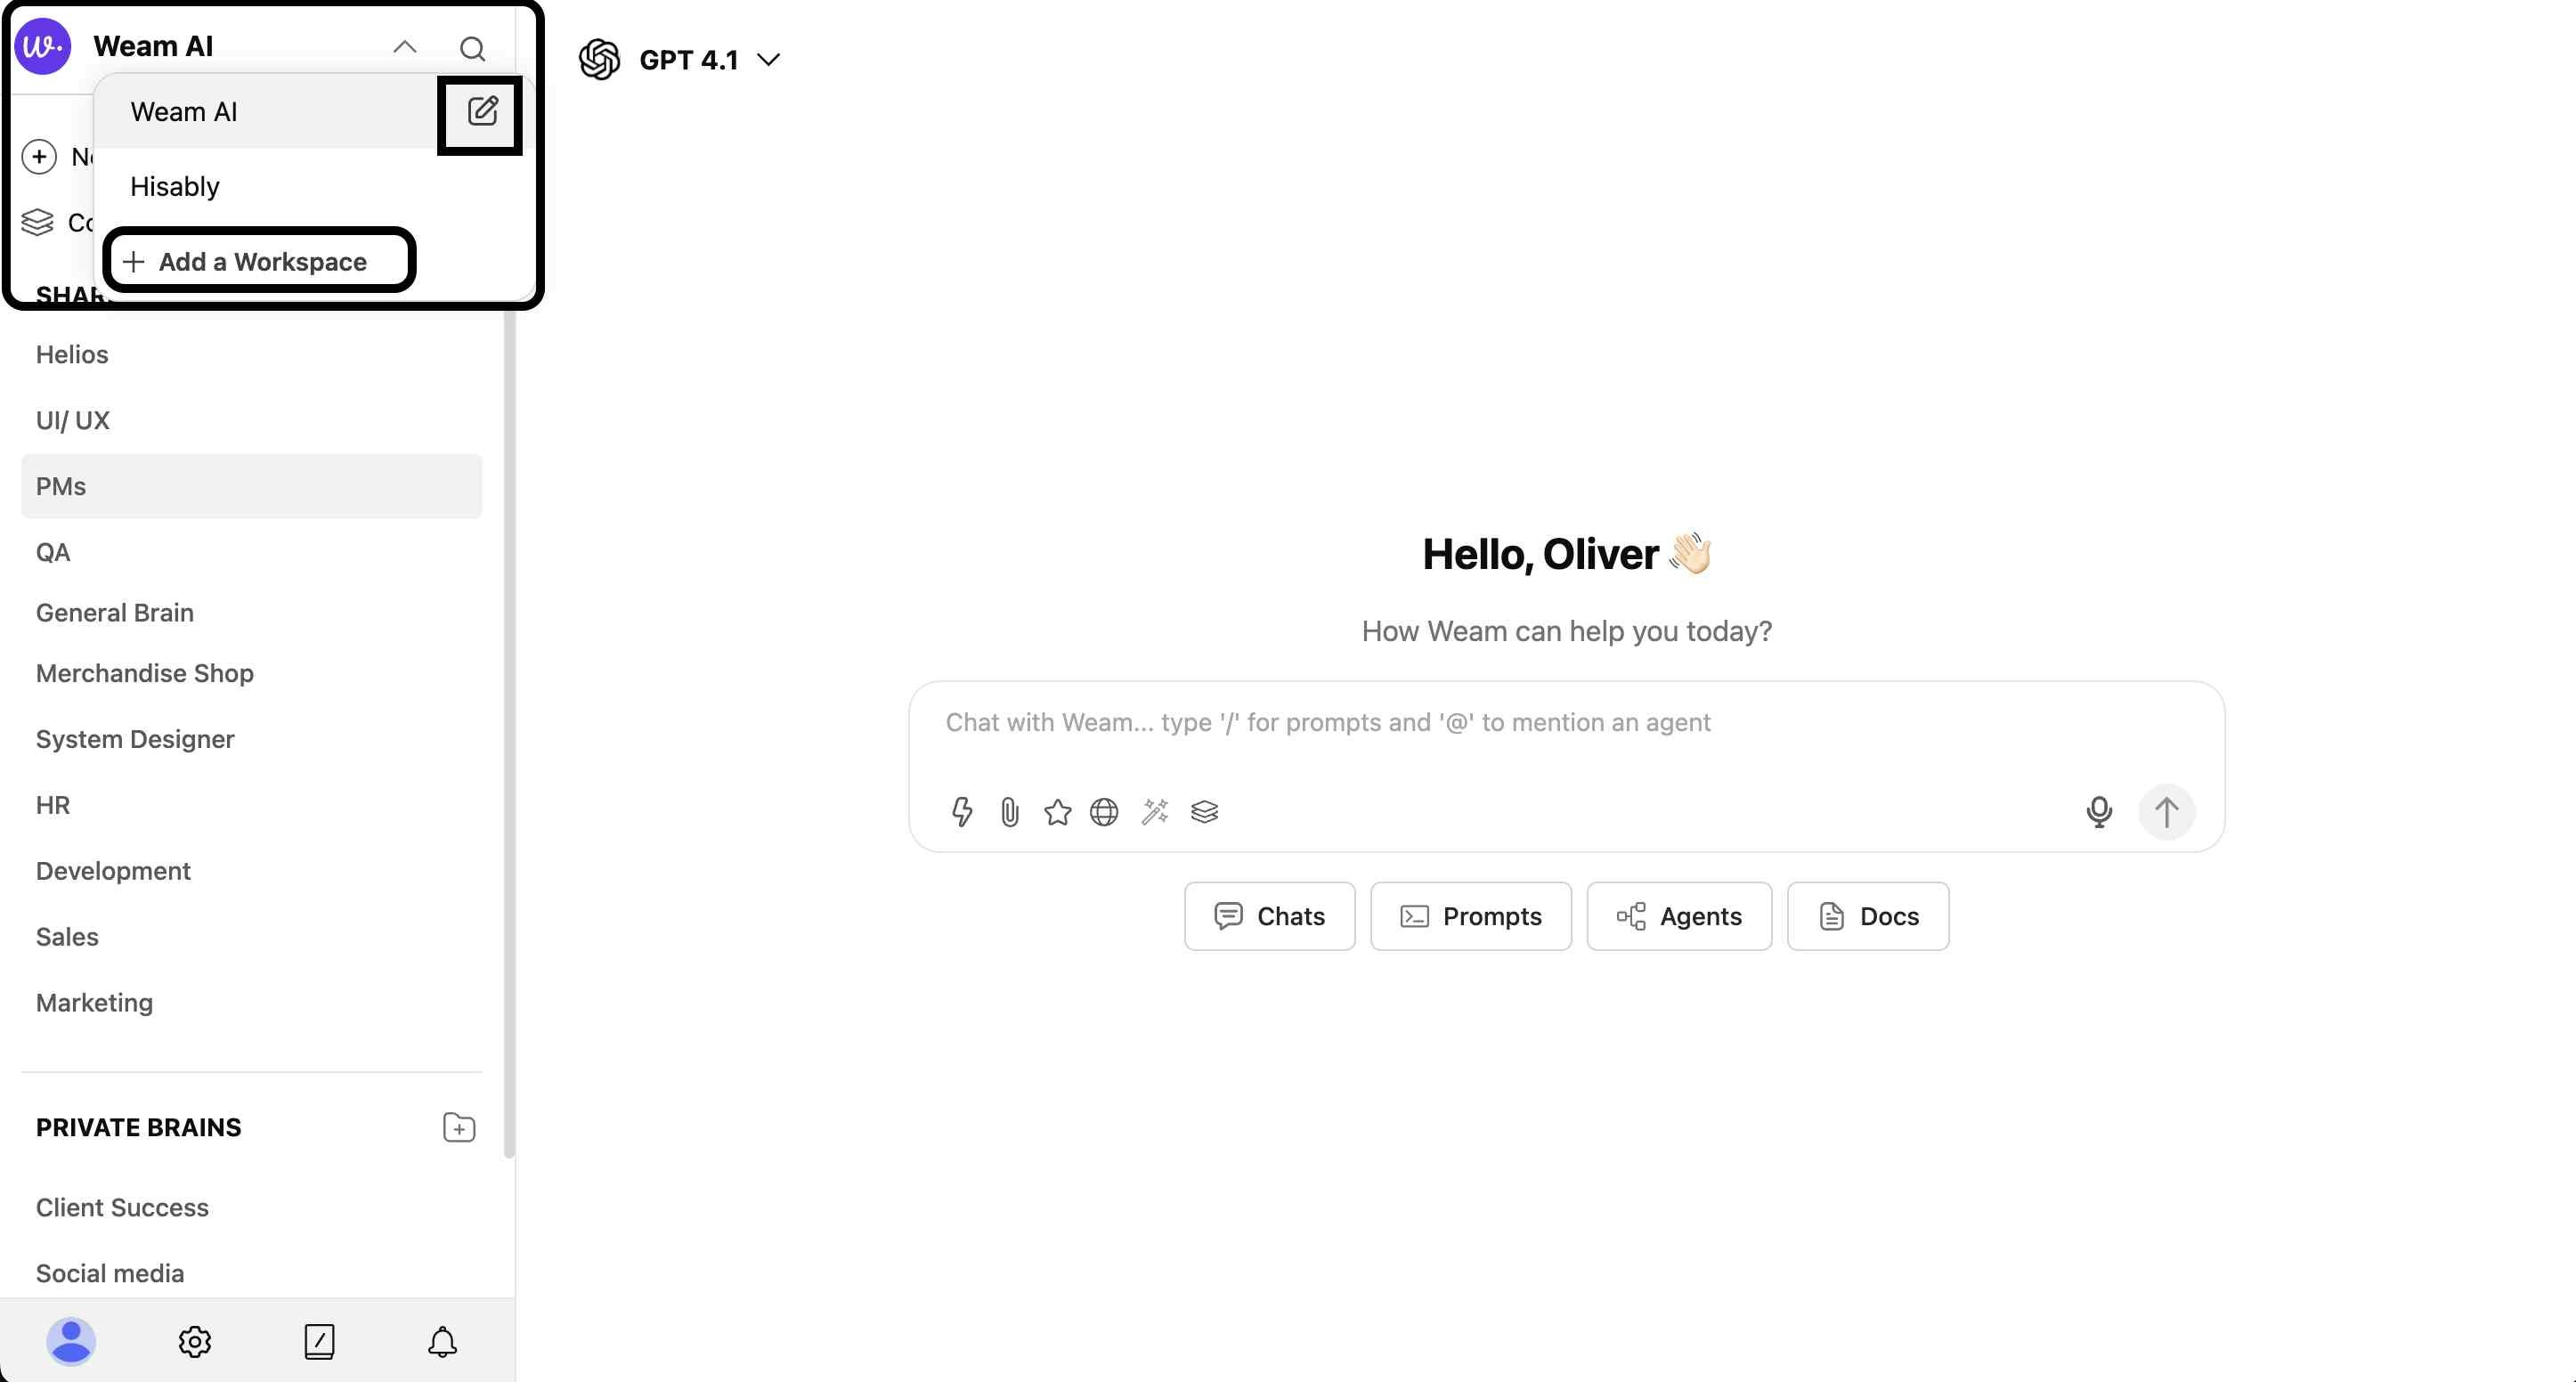
Workspace Selector
- Location: Top-left corner of the interface, next to the company name
- Access: Click the dropdown arrow next to the workspace name
- View Options: See all available workspaces you have access to
- Switch: Select any workspace to change your current environment

Available Actions
From the workspace dropdown, you can:- Switch Workspaces: Move between different workspace environments
- Add a Workspace: Create new workspaces (Admin permission required)
-
View Workspace Details: Access workspace information and settings
Workspace Management (Admin Only)
Creating a New Workspace
Step 1: Access Creation Modal
- Click the dropdown arrow next to the workspace name
- Select “Add a Workspace”
- The workspace creation modal will appear

Step 2: Configure Workspace Details
Workspace Name (Required)- Enter a descriptive name for your workspace
- Choose names that clearly identify the team or project purpose
- Search and select individual users to include
- Add multiple members by selecting them from the dropdown
- Remove members by clicking the “x” next to their names
- Include entire teams in the workspace
- Select from existing teams (e.g., “Marketing”, “UI/UX”, “HR”)
- Teams can be removed by clicking the “x” next to the team name
Step 3: Finalize Creation
- Review all selected members and teams
- Click “Add a Workspace” to create the workspace
- The new workspace will be available in your workspace selector
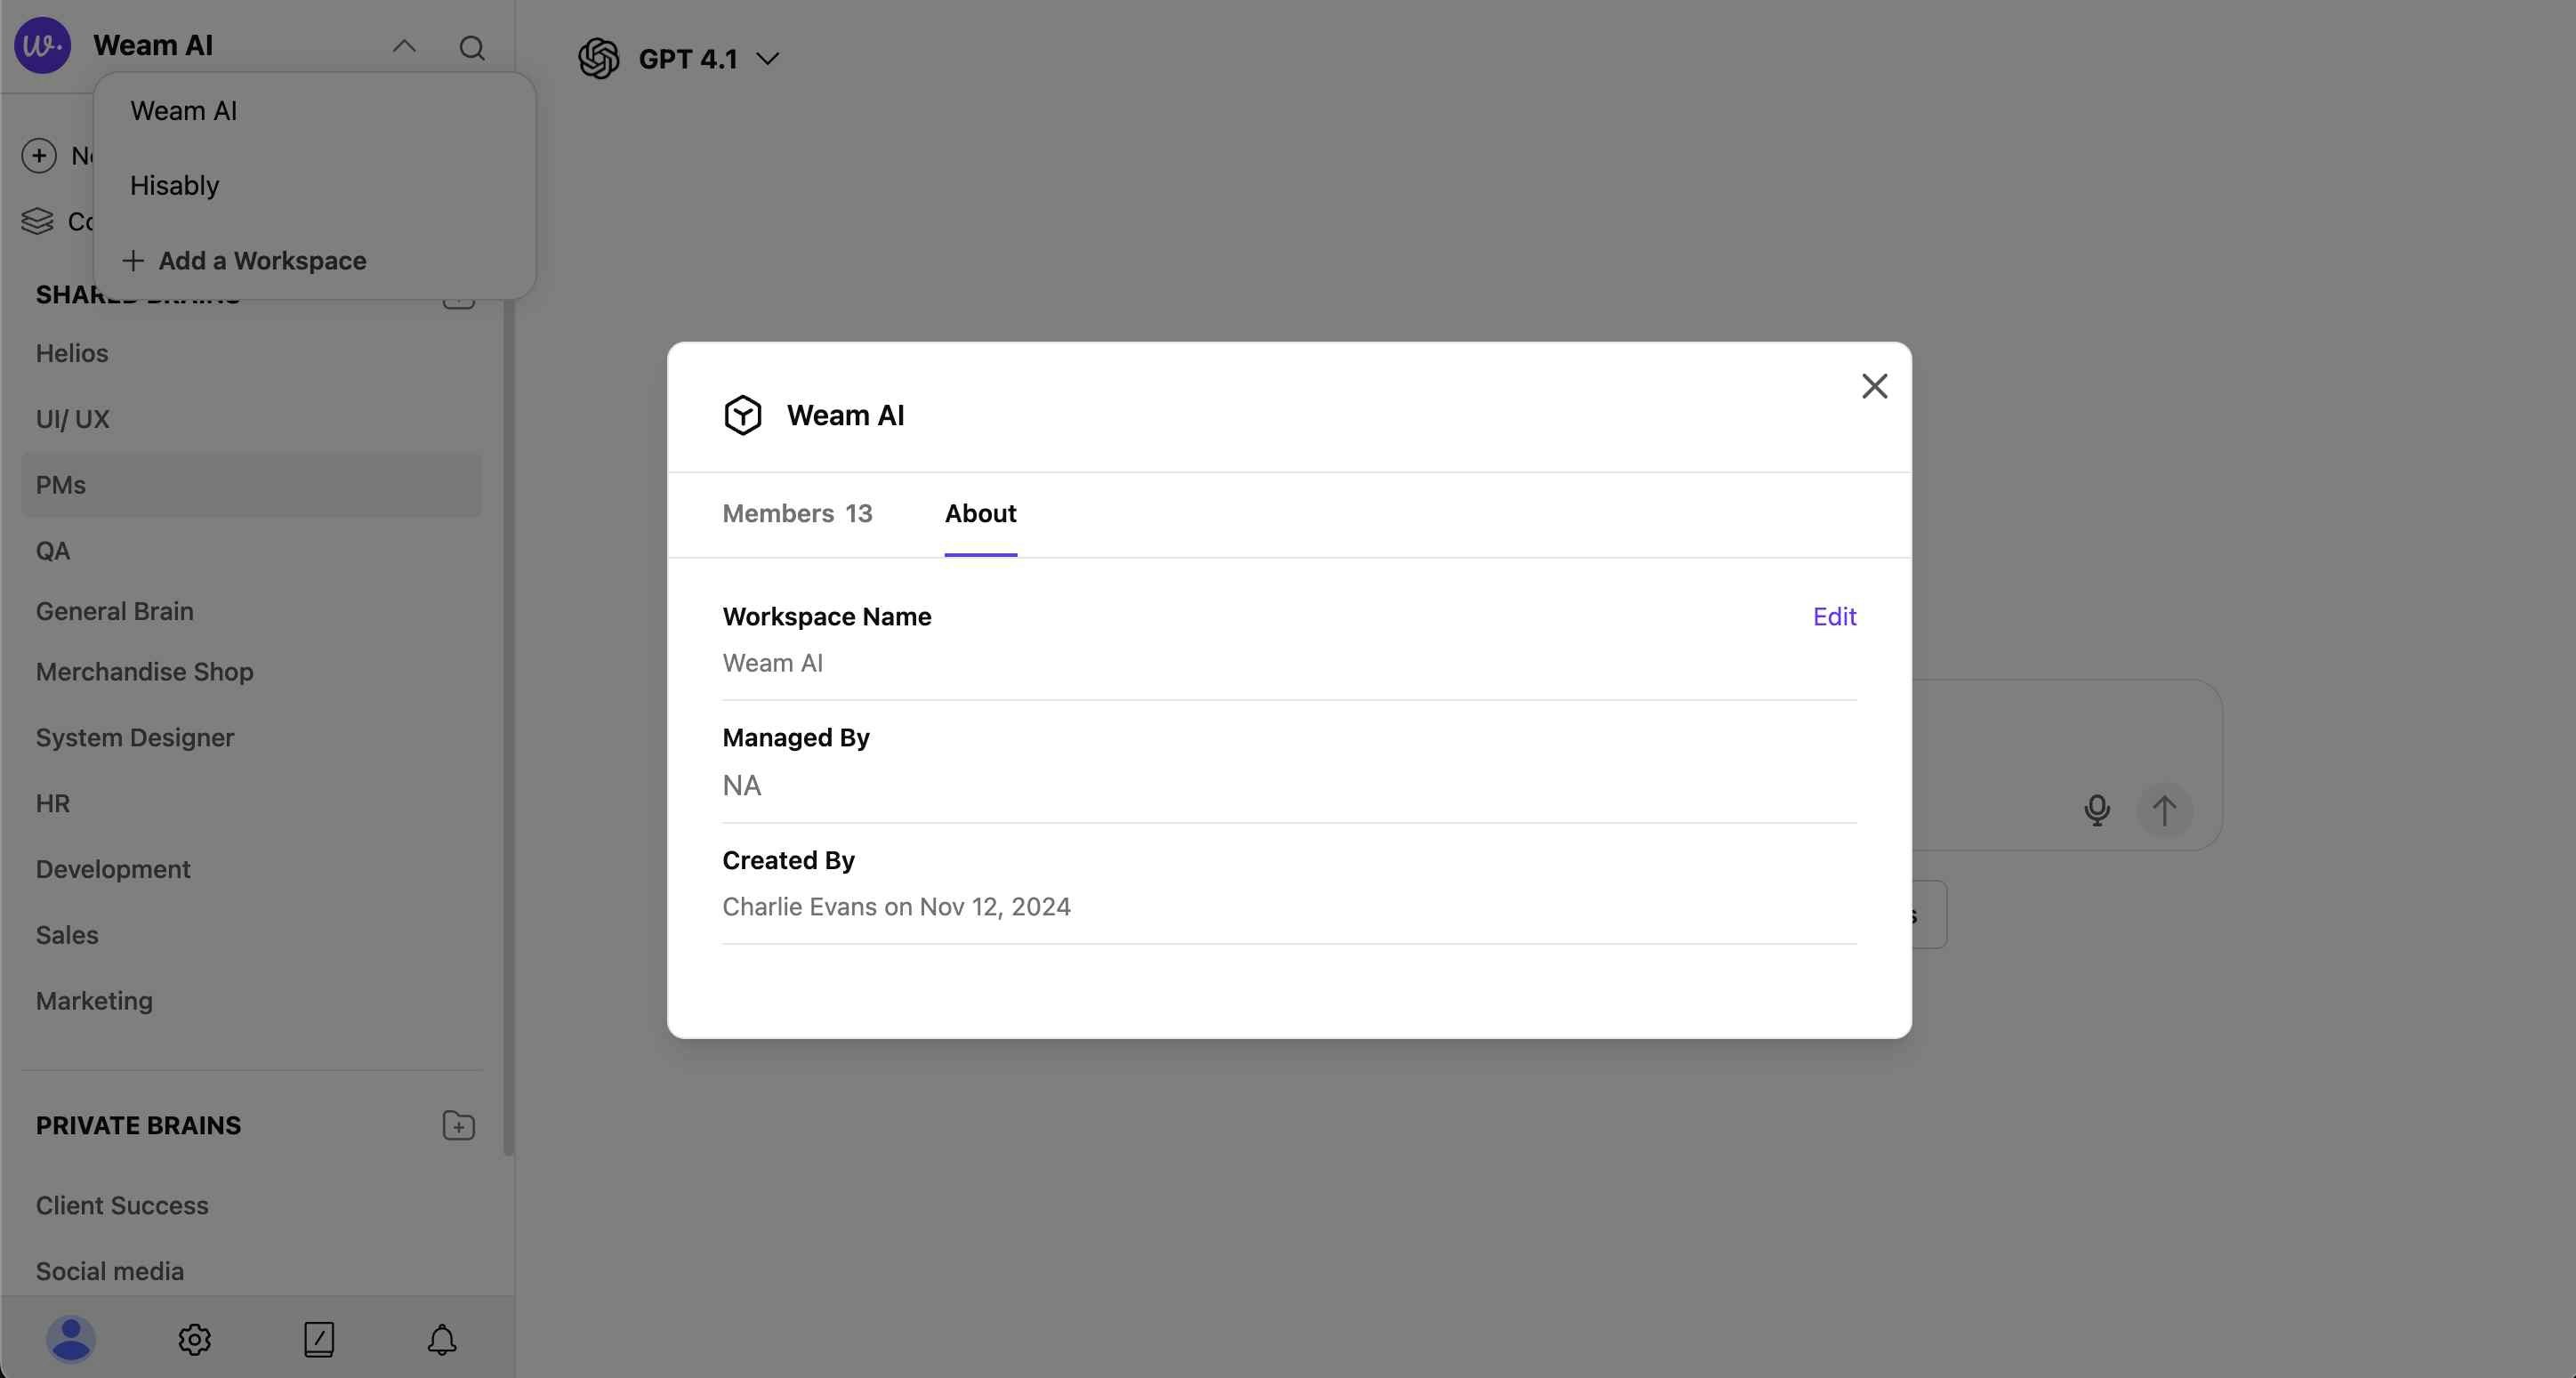
Workspace Information
Viewing Workspace Details
Access workspace information through the workspace modal: Members Tab- Total Count: Shows number of members (e.g., “Members 13”)
- Search Function: Find specific members
- Filter Options: View by role or team (dropdown: “Everyone”)
- Member List: See all workspace participants with their roles
- Admin Identification: Admins are clearly labeled
-
Team Groups: View organized teams within the workspace

- Workspace Name: Current name with edit option
- Managed By: Workspace administrator information
- Created By: Original workspace creator and creation date
-
Management Details: Administrative oversight information
Workspace Features
Dedicated Resources
Each workspace maintains its own:- Brains: Knowledge bases specific to the workspace
- Agents: AI assistants configured for the workspace
- Prompts: Templates and conversation starters
- Members: Team members with appropriate access levels
Collaboration Benefits
- Focused Environment: Work within relevant team context
- Resource Sharing: Access team-specific knowledge and tools
- Organized Communication: Maintain workspace-specific discussions
- Project Alignment: Keep team efforts coordinated and productive
Access Control
- Permission Management: Control who can access each workspace
- Admin Functions: Workspace creation and management restricted to admins
- Member Oversight: Track and manage workspace participation
- Team Integration: Seamlessly include entire teams in workspace access